Whot 20 Strategy: When to Call a Shape and When to Save It
Learn when to use Whot 20, how to call a useful shape, and how to protect your options when an opponent has one card left.
Whot 20 is most useful when it changes the active shape in a way that gives you a safe follow-up or reduces an opponent's chance to finish. In the WhotGuide demo, it can be played on any card and lets you choose the next shape. Table and app rules can differ, so check the rule set before assuming the same effect everywhere.
Last updated: 15 July 2026
What Whot 20 does
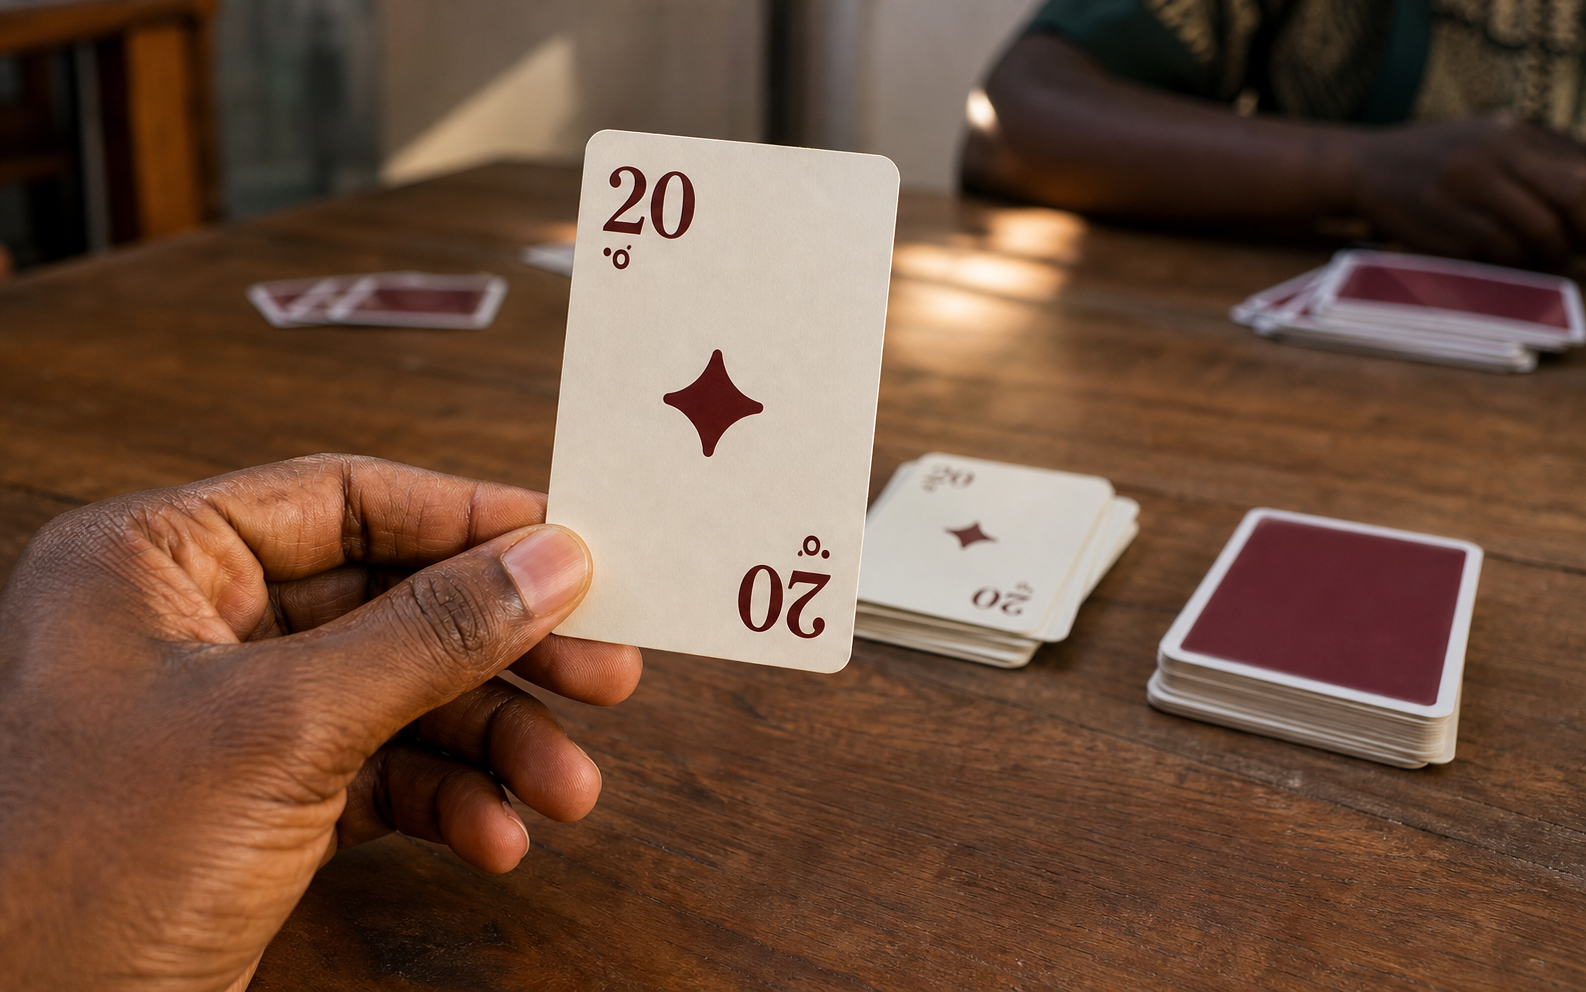
In the WhotGuide teaching demo, Whot 20 can be played on any valid table card. After playing it, choose the next shape. That makes it useful when the current shape no longer connects to your hand, or when another shape gives you a better route for the next turn.
It is a Whot card, not a Star card. Star is one of the regular shapes in the deck. Whot 20 is the separate call card that lets the player request the next shape.
Call a shape you can continue
The strongest use of Whot 20 is usually to call a shape that gives you more than one possible follow-up.
For example, imagine you have two Cross cards and one Circle card left. If the current table shape is Star and you cannot continue safely, calling Cross can give you a more stable position than calling a shape represented by only one card.
Before using Whot 20, check three things:
- Which shape appears most often in your hand?
- Can that shape connect to another card by number if the table changes again?
- Does calling that shape make the opponent's likely final card harder to play?
Calling a shape you cannot support only delays the problem. Calling a shape with follow-up options gives you control of the next decision as well.
When saving Whot 20 is smarter
Do not spend Whot 20 automatically when you already have a useful matching card. If a normal card keeps a strong chain alive, it can be better to use that card and keep Whot 20 for a harder turn.
For example, if the table shows Square 4 and you hold Square 10, Circle 10, and Whot 20, Square 10 is often the practical first play. It matches the table and leaves Circle 10 connected by number. Whot 20 remains available if the game later moves to an awkward shape.
This is not a universal rule. If an opponent has one card left, changing the shape immediately may be more important than preserving your strongest card.
Use Whot 20 against a Last Card threat
When an opponent calls Last Card, your job is to reduce their chance of playing their final card. Whot 20 can help because it allows you to call a shape that is less likely to suit them.
Use visible information, not guesses. In the WhotGuide demo, a player draws from the market when they have no legal play. If an opponent drew while Circle was active, Circle may be a useful shape to call later. At another table or in another app, a player may be allowed to draw for a different reason, so confirm the local rule before treating a market draw as proof.
Whot 20 does not guarantee a block. It gives you a better decision when the available information supports a shape change.
A simple Whot 20 checklist
- Call a shape you can continue playing.
- Keep Whot 20 if a normal card gives you a safe follow-up.
- Consider using it earlier when an opponent is close to finishing.
- Treat market draws as clues only when you know the rule set.
- Check whether unused-card scoring applies at your table before saving it only for the end.
Practice the decision
Try the same rules in the Whot vs Bot demo. For the card meanings, read Whot special cards. For more decision examples, see Whot real game examples.